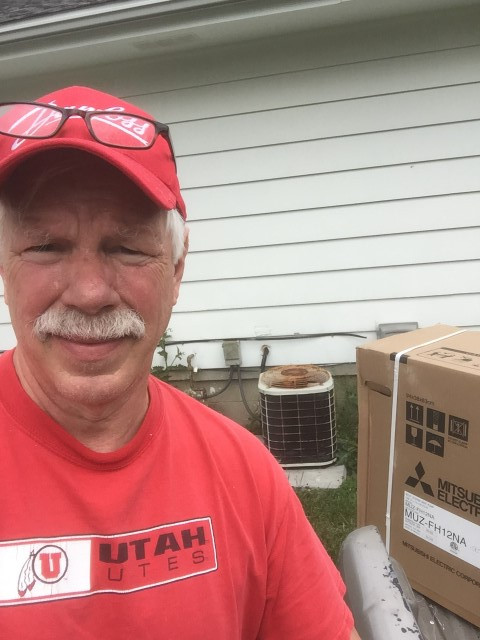
 A 66 year old person like me can remove an old AC unit and install a ductless mini-split in 5 hours. Anyone skilled in the HVAC trades should be able to install a unit faster than that. I’m installing this unit at my daughter’s house to replace an old AC unit.
How much effort is required to install a ductless mini-split? We thought it might be helpful to describe the installation process for ductless mini-splits. Coupled with online mini-split information, you can determine what might be a reasonable installed cost for your area.
Here is a list of mini-split installation steps:
Most of the installation can be performed by do-it-yourselfers, however, you will likely need professional help on the refrigerant related steps (4, 8, 9). Proper handling of refrigerant is essential for your safety, for protecting the environment, and to avoid significant fines for uncontrolled refrigerant release. Watching a few YouTube videos is great for many things, but working with refrigerants is best taught with formal instruction. If you are planning diy installation of the major components, be sure to contact an HVAC professional before purchasing a unit. You may find that having a professional install the unit is worth the extra cost along with warranty coverage.
The following figures describe each step. Some of the pictures are from a friend, diyer mini-split installation and others from the recent installation of a mini-split at my daughter’s house. The bottom line, installation labor for most jobs should be about 5 hours per unit. If HVAC professional labor rates are $100/hr (eg, $50/hr labor rate plus $50/hr overhead), an installation cost of $500 per unit would be reasonable on top of the mini-split unit cost (see our “Mini-split Mania” report). Mini-splits in many areas are relatively new, and growing demand has resulted in premium prices, so it may be difficult to get competitive bids in your area.
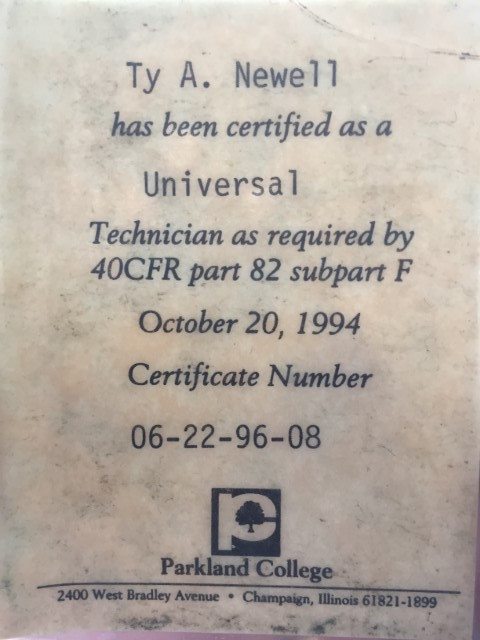 Disclosure: I am certified for Type 1 (appliance), Type 2 (high pressure) and Type 3 (low pressure) refrigerants, aka “Universal” refrigerant technician.
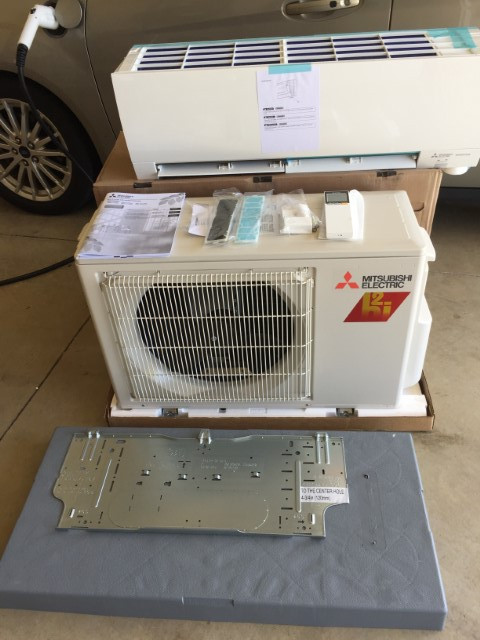 Step 1 Unpack the unit, have a cup of coffee, and read the instructions! Shown are the indoor unit, outdoor unit, metal indoor unit mounting plate, and plastic outdoor unit mounting base.
 Step 2 Install the outdoor unit. Mini-split outdoor units can be mounted on the ground or wall mounted. Vibration and noise are low.
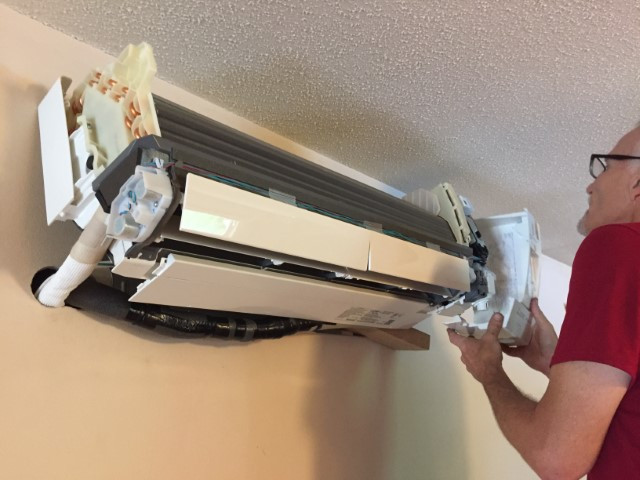 Steps 3, 4, 5 Install the indoor unit. A wall mounting plate is screwed to the wall, and the indoor unit hangs (and pivots) on the mounting plate. Run the condensate drainage line (white insulated tube) outside or to an inside drain. Connect copper lineset tubing (black insulated tubes) to indoor and outdoor units.
 Steps 6 and 7 The photo shows the outdoor unit electrical connections. Most mini-splits are 220/240VAC with L1/L2 line input connections. S1/S2/S3 connections are for power and communication of the indoor unit. Yes, red wire for S3 is better…green is what the homeowner had available.
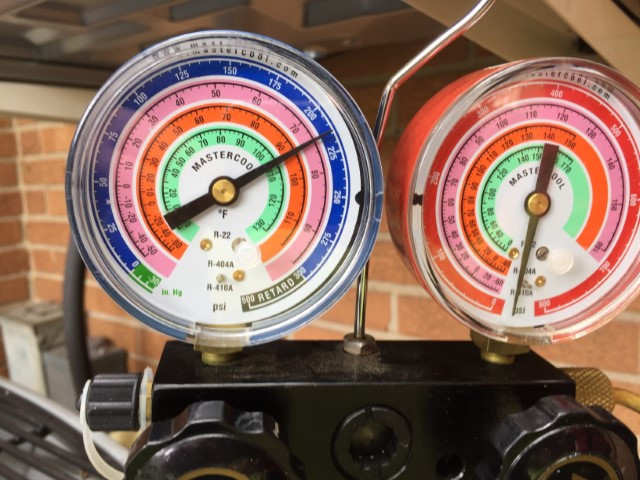
 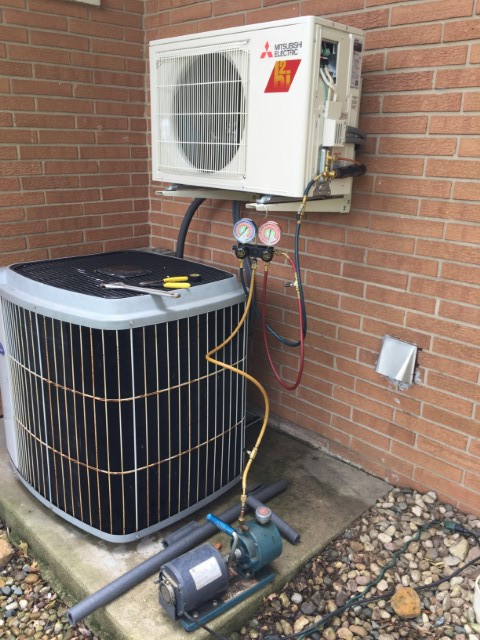 Step 8 Evacuating the lineset and indoor unit. A “gage manifold” and vacuum pump are connected to the charge port on the outdoor unit to remove gases from the indoor unit and linesets. Refrigerant is still sealed in the outdoor unit during this process. I’m assisting this diyer on refrigerant Steps 4, 8, and 9.
 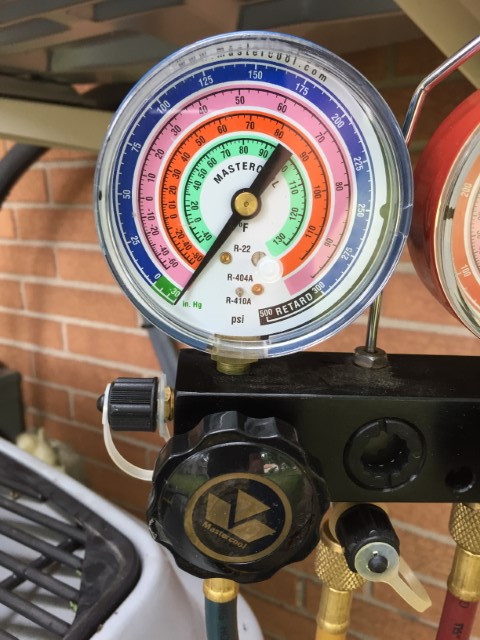 Step 8 – con’t. The low pressure gauge should read -30 inches Hg for absolute zero pressure (vacuum readings are often use “inches mercury” because old vacuum gauges used a glass tube with a column of mercury for measurement).
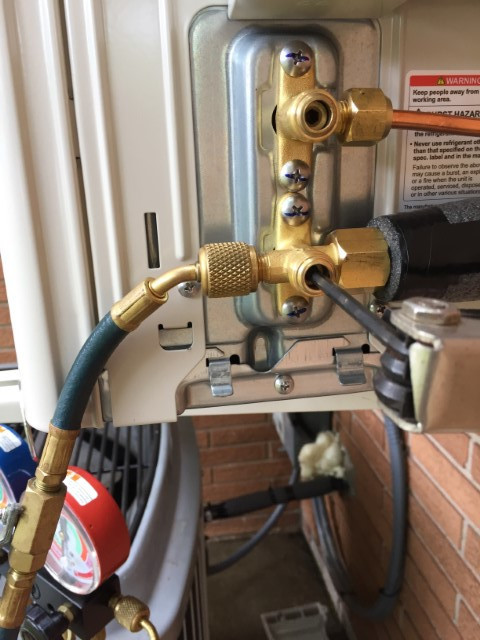 Step 9 Most mini-split outdoor units are pre-charged. After evacuation of the lineset and indoor unit (and verification system is leak-free), two valves are opened on the outdoor unit. An allen wrench is shown on the lower valve.
